Made of durable ABS material, this dog door features a powerful magnetic closure that will seal the flap after just three of four swings. It also has a lock that easily slides into place to keep the door from opening when needed.
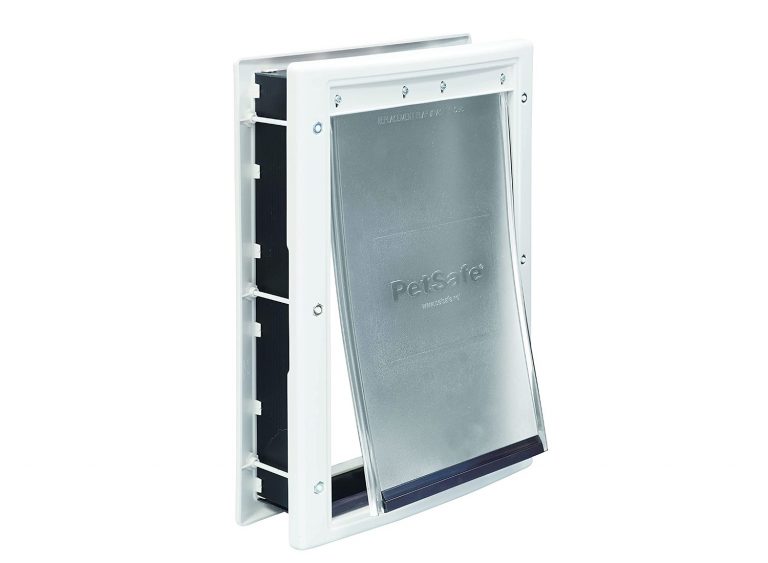
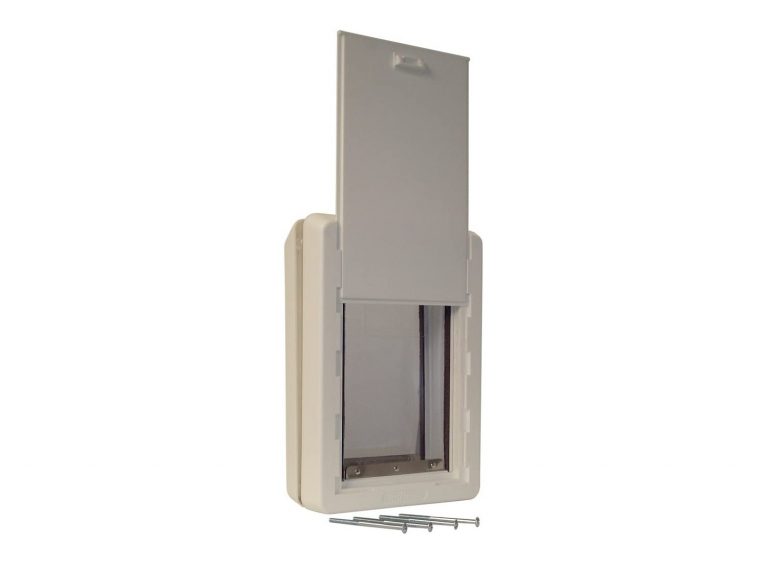
This tried-and-true dog door design features a flexible plastic flap that pets can push through easily, and a paintable frame to make the door less conspicuous. It features a handy snap-on the panel if you want to lock the door at any time.
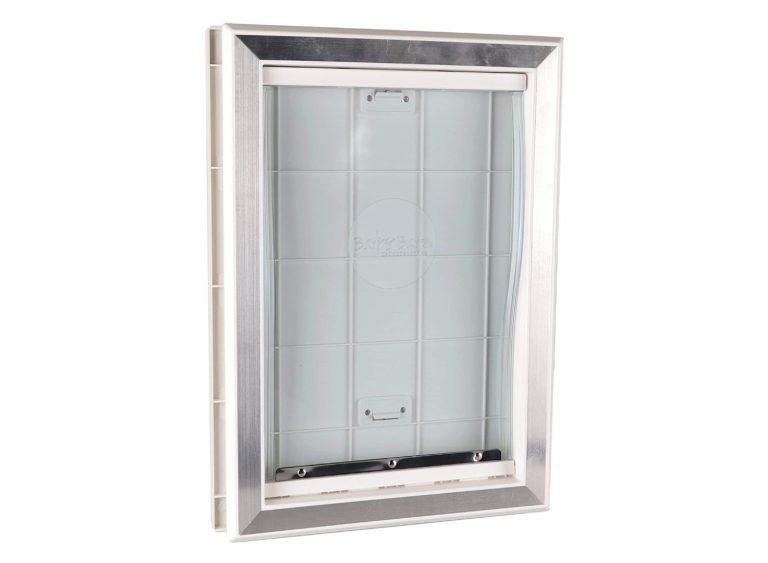
This door features a metal frame and a vinyl flap with a magnetic closure. The vinyl will not warp due to wear or extreme temperature.
The air seal flap is made of three durable connected panels with an air pocket inside for insulation. The design reduces energy loss from your house and minimizes the risk of your pets’ paws, ears, or tails getting caught.
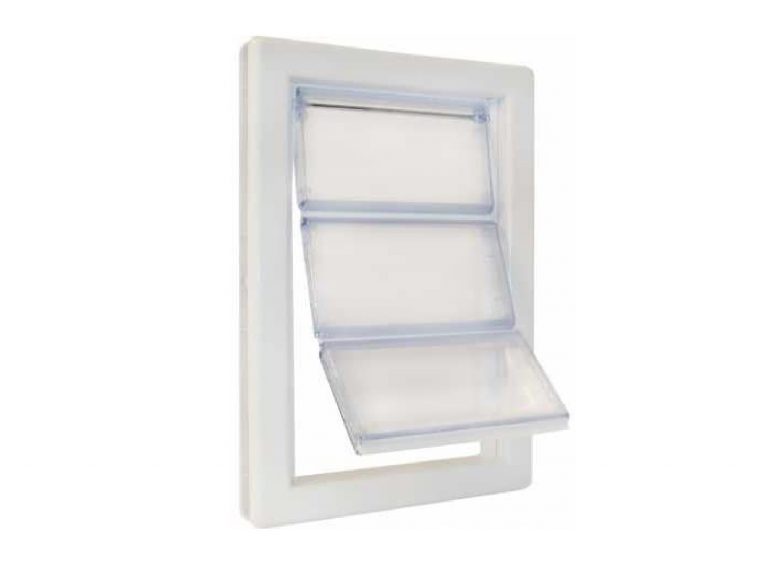
The foam-molded plastic of this sturdy pet door provides insulation and energy efficiency. The flap is energy-efficient too, made from two layers of vinyl with an air pocket in between.
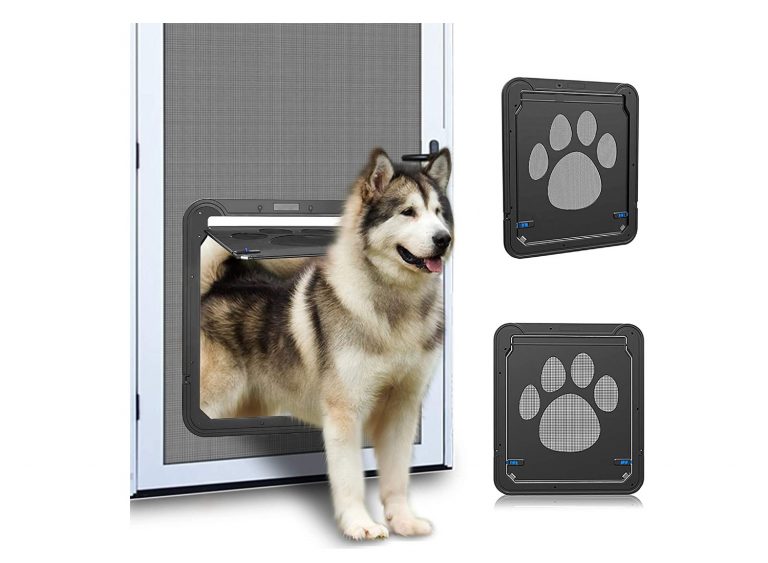
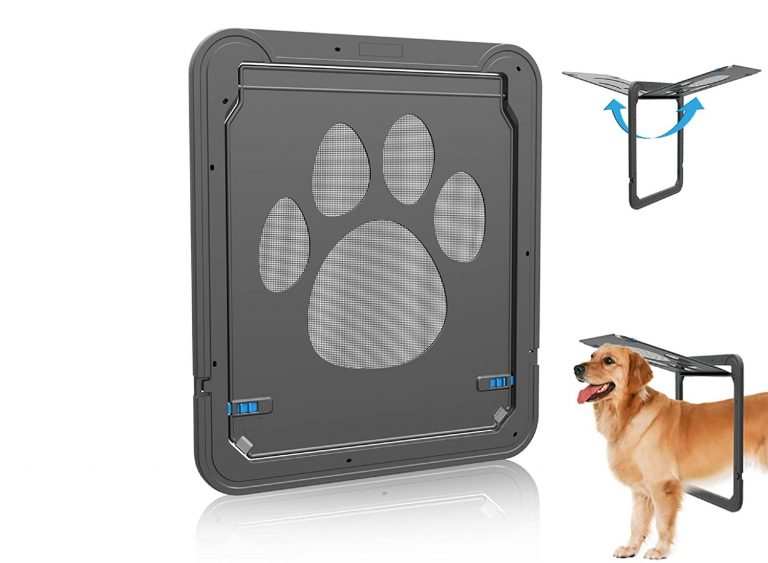
If you like to leave the door open in the summer and rely on the screen door, this is the perfect option to let your pets enjoy the warm weather. Made specifically to fit into screen doors, it’s sturdy and easy to install.
A dog door can save you a load of hassle and make your pet more active if you choose the right one. However, before you make a purchase, consider the following factors.
A: If the door is too small, your pet won’t fit through. A too-big door may be difficult for them to push through. The first step to buying a pet door is to measure your pet. First, measure across their shoulders for the width. Then measure from their shoulders to the floor when they stand for the length. You’ll want a door that’s two inches more than each of these measurements.
A: Remove your door from the frame and place it on a sawhorse, facing up. Your dog door likely came with a helpful paper template. Tape this template at least three inches from the bottom edge of the door and drill a hole at each corner. Then, using a jigsaw, drill between each hole along with the template and cut out a rectangle. To decide where to drill holes for the mounting screws, place the dog door frame in the hole and, using a pencil, mark where the holes in the frame are. Next, drill a smaller hole in each spot, being careful to drill straight, so the front and back frames line up. Once all holes are drilled, you should be able to use the hardware included to attach the pet door.